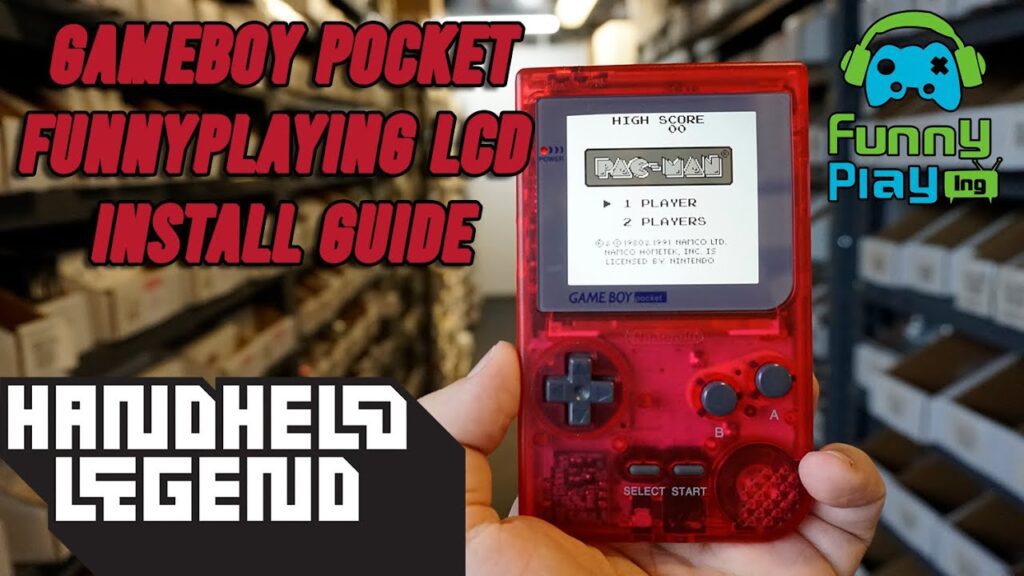
In this video we will be going over how to install the FunnyPlaying IPS LCD Kit for the Gameboy Pocket!
|Wiki Postings|
Dry Testing Guide:
| Parts Shown For This Specific Mod |
GAME BOY POCKET IPS LCD KIT – FUNNYPLAYING –
All the accessories and replacement parts mentioned in this video can be purchased from the awesome retro game store – www.eebuys.com
We can also customize the whole game machine according to your demand. Just contact us.
| Modding Resources |
Our Wiki:
Our knowledgebase:
Community Resources:
Our Blog:
source
gameboy ips
Gaming,HandHeld Legend,HHL,Nintendo,Gameboy,GBA,GameBoy Advance,SP,USB-C Charging,Modding,Modded,Customized,Pokemon,Mario,IPS,TFT,Local Business,Business,Local,Game Boy (Video Game Platform),nintendo,game boy,game boy modding guide,game boy mod guide,game boy installation guide,game boy tear down,game boy guide,game boy install guide,game boy modding,game boy mods,video games,retro gaming,retro mods,modding,game boy ips mod,game boy ips kit
#Gameboy #Pocket #Funnyplaying #LCD #Screen #Install #Guide


A rare piece of beauty
Yall do these too fast lol. Takes me an hour and yall do it in a minute with speed up play 😅
Do you have any advise for a Game boy Pocket which is not loading games? it boots but the screen sometimes stay stuck on the nintendo logo, other times the logo vanishes and it stay on a white screen but does nothing, i know the games are not faulty since i trying on a working Game Boy Pocket
Can you use this tutorial for a game boy light?
Hey ive got an ips panel in ny gbc, just plopped one in my gbp and its not displaying anything, does the pocket require soldering? Mins very similar to yours with the only difference being where the touch sensors solder point is.
2 hour battery life. just warning to anyone thinking about doing this
Best video!! Concise and clear. Modified my Pocket last night with the Funnyplaying screen and shell, amazing! 🙏👍
how do you allign the screen? you just sort of threw it in and wiggled it with little care
Thanks for the vid, very concise and helpful. I got a new version of the ribbon cable with no touch solder pad on the left of the power one, however I didn't need the sensor that came with the kit as the one provided works excellently. Really awesome IPS kit for the GBP, looks absolutely amazing in my opinion.
Thank you for your tutorial.
You soldered on the first pin from the left but some people solder on the C pin. There is difference ? Thank you.