Thank you for watching our videos! Please like and subscribe!
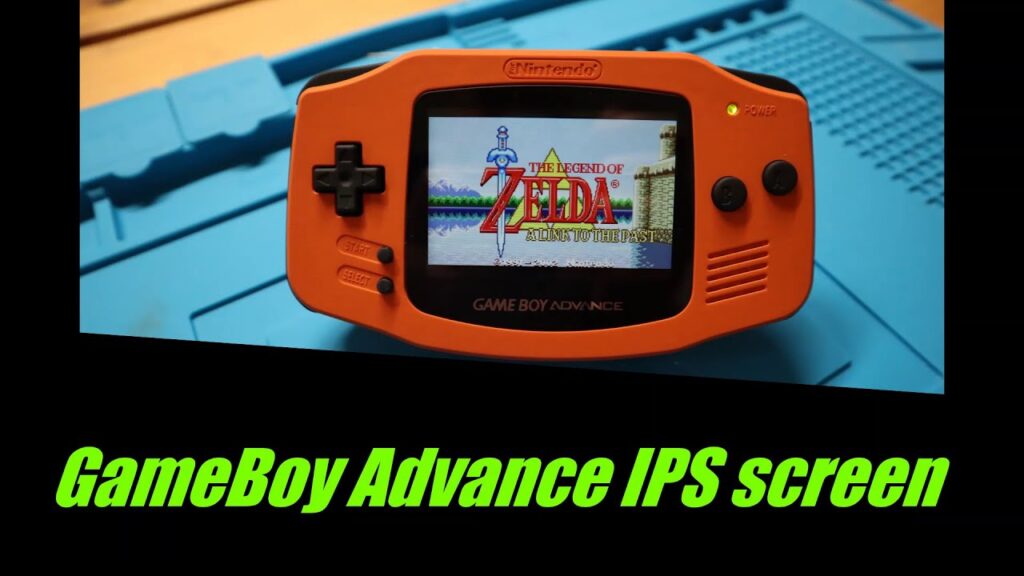
In this video, we will be doing an ips screen install on a Game Boy Advance. This is the “Unbranded” kit from Handheld Legends, but the install is very similar to the funnyplaying kit. The IPS conversion is an awesome backlit LCD screen, that is significantly better than even the AGS-101 screen conversions. We also used a new shell from Retrosix. This shell is already mod’ed for the ips screen, and is even mod’ed for a Lithium battery kit. (we did not install that)
All the accessories and replacement parts mentioned in this video can be purchased from the awesome retro game store – www.eebuys.com
We can also customize the whole game machine according to your demand. Just contact us.
The music used in the intro:
Music: Eric Skiff – Chibi Ninja – Resistor Anthems – Available at
source
gameboy ips
Nintendo Game Boy Advance,Nintendo Gameboy Advance,Nintendo,Gameboy,LCD Screen,ips screen,Modify,reshell,installation guide,glass lens,Zelda,Mario
#Gameboy #Advance #IPS #screen #install #unbranded


I personally really like how you explain everything! I have just a really basic knowledge of motherboards/electronics/etc. so it's super informative and helpful! Keep up the great work dude!
Thanks for putting this up, The ribbon cable/board that hand held legend sent me looks totally different from what they have in their installation guide. Being new to soldering, i wasn't quite sure where those three wires were supposed to go. Condensed video would be nice, you can do a longer video though, might be easier to follow in the long run.
What microscope do you use. I'm going to learn how to solder and mod retro consoles